Autify AI-Powered Test Maintenance: Auto-Update, Failure Analysis, and Test Health
The most expensive part of UI test automation is not writing tests — it is keeping them working.

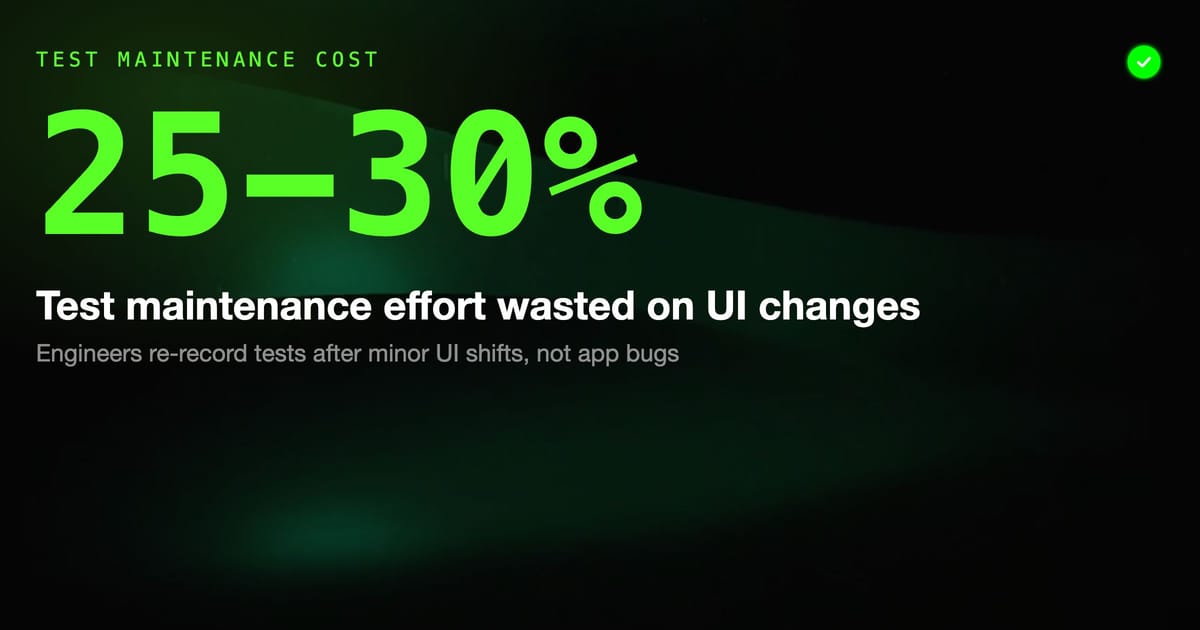
The most expensive part of UI test automation is not writing tests — it is keeping them working. A study often cited in the QA industry estimates that 25-30% of automated test maintenance effort goes to updating tests after UI changes that have nothing to do with application bugs. An engineer spends a morning re-recording tests because a designer moved a button two pixels to the right.
Autify's AI maintenance layer is designed to eliminate most of this overhead. This post examines how auto-update works at a technical level, what the failure analysis workflow looks like in practice, how to monitor test health across a large scenario library, and where the AI maintenance model has genuine limitations.
The Core Problem: Why Tests Break
Before understanding how Autify addresses maintenance, it helps to understand why UI tests break in the first place. There are three distinct categories:
1. Locator drift — The application still works correctly, but the element the test was targeting has moved, been renamed, or had its DOM structure changed. The test fails because it cannot find the element, not because the application broke.
2. Application regression — The application actually broke. A new deployment introduced a bug that causes incorrect behavior. The test failure is the correct signal — this is what tests are for.
3. Environment instability — The test infrastructure, network conditions, or timing caused a false failure. The application and test are both correct; the run was unlucky.
Traditional automation frameworks treat all three the same: the test fails, a human investigates. Autify's AI layer attempts to handle category 1 automatically, surface category 2 clearly, and reduce category 3 through intelligent waiting strategies.
How Auto-Update Works
The Element Fingerprint
When you record a step in Autify, the platform does not store a single CSS selector or XPath. It captures a multi-dimensional fingerprint of the element:
- Visual signature: A screenshot crop of the element and its surrounding context, encoded as a feature vector
- Accessible text: The element's label, placeholder, or inner text
- DOM position: Relative position in the document hierarchy and among sibling elements
- Structural attributes: Tag name, class list, role, data attributes
- Geometric context: Position relative to nearby landmarks (headers, section boundaries, form containers)
None of these signals are individually reliable across UI changes. A button's CSS class changes when a design system is updated. Its text label changes when copy is edited. Its DOM position changes when a layout is restructured. But all five signals changing simultaneously would mean the element essentially no longer exists — which is a legitimate test failure.
The AI model combines these signals with learned weights. Signals that are historically stable (accessible text, semantic role) get more weight. Signals that change frequently (CSS class names in automatically generated class systems, pixel positions) get less weight. The weighting is per-application: the model observes your application's change patterns over time and adjusts.
The Auto-Update Decision
At test runtime, Autify attempts to find each element using its stored fingerprint. The process:
- High-confidence match: The element is found at its original location with all or most signals matching. No update needed.
- Relocated element: The element is found at a different position in the DOM or at different pixel coordinates, but its fingerprint still matches. Autify marks the step as auto-updated, logs the old and new location, and continues executing.
- Ambiguous match: Multiple elements partially match the fingerprint. Autify selects the highest-confidence candidate. The step is flagged for human review.
- No match: No element meets the minimum confidence threshold. The test fails with a locator error. This is not classified as auto-updated — it requires human attention.
Reviewing Auto-Updates
After a test run, the results view shows a summary of auto-updates:
Test Plan: Checkout Regression
Run ID: 84729
Duration: 4m 12s
Status: PASSED

Results:
  Passed: 23 scenarios
  Failed: 2 scenarios
  Auto-updates applied: 7 steps across 5 scenarios

Auto-Update Log:
  Scenario: "Guest Checkout Flow"
    Step 4: "Click button 'Continue as Guest'"
      Reason: Element moved from nav-bar to modal overlay
      Confidence: 94%
    Step 11: "Click button 'Place Order'"
      Reason: CSS class changed (btn-primary → btn-cta)
Confidence: 89%High-confidence auto-updates (above 85% confidence in most configurations) are applied automatically. Lower-confidence updates can be configured to require human approval before being persisted.
Persisting vs. Temporary Auto-Updates
A critical distinction: Autify auto-updates can be temporary (applied for this run only) or persisted (saved to the scenario definition).
By default, high-confidence auto-updates are persisted. This means the next run uses the updated element location without triggering another auto-update evaluation. If the AI got it wrong, you have a stale incorrect element stored in the scenario.
You can configure per-workspace whether auto-updates are persisted automatically or require explicit human approval:
- Auto-persist (default): Low maintenance overhead, higher risk of silently incorrect tests
- Require approval: More maintenance work, but every scenario change is human-reviewed
For high-stakes regression suites where test correctness is critical, requiring approval is the safer configuration. For broad sanity-check coverage where speed matters more than precision, auto-persist is reasonable.
Failure Analysis Workflow
When a test does fail — either from a genuine regression or an element the AI could not resolve — Autify's failure analysis view provides the evidence you need to triage quickly.
The Failure Detail View
Clicking a failed scenario opens:
- Step trace: The full sequence of steps with pass/fail status per step. The failing step is highlighted.
- Before/After screenshots: A screenshot of the expected state (from when the test was last recorded or last passing) alongside the actual state at failure.
- Error classification: Autify attempts to classify the failure:
Element not found— locator issue, likely needs re-recording or a UI change to investigateAssertion failed— the element was found but its value did not match expectations — likely an application regressionNavigation timeout— page did not load within the configured timeout — likely environment or performanceScript error— JavaScript exception in the application during test execution
- DOM snapshot: A snapshot of the DOM at the point of failure, downloadable for offline inspection.
Distinguishing Bugs from Locator Issues
The error classification is your first filter. Assertion failed errors need developer attention — they indicate the application returned an unexpected value. Element not found errors often indicate UI restructuring rather than a bug.
A practical triage workflow:
Failure: "Checkout — Step 8 — Assertion failed"
  Element: ".order-total"
  Expected: "$47.99"
  Actual: "$48.99"
  → This is a calculation bug or price change. File a ticket.

Failure: "Checkout — Step 12 — Element not found"
  Element: "button 'Place Order'"
  Confidence: 31% (below threshold)
→ UI changed. Check recent deploys. Re-record if button was redesigned.Bulk Failure Analysis
For large test suites, individual failure review does not scale. Autify provides a failure grouping view that clusters failures by root cause across a plan run:
- Failures sharing the same failed element across multiple scenarios are grouped (suggests a shared component changed)
- Failures at the same step number across similar scenarios are grouped (suggests a flow change, not a component bug)
- Isolated single-scenario failures are listed separately
This grouping dramatically reduces triage time when a single UI change breaks dozens of tests that all use the same navigation component.
Test Health Monitoring
Beyond individual runs, Autify provides a Test Health dashboard that tracks scenario stability over time.
Health Metrics per Scenario
| Metric | What It Measures |
|---|---|
| Pass rate (30 days) | Percentage of runs that passed in the last 30 days |
| Auto-update frequency | How often steps required AI correction per run |
| Failure streak | Consecutive failures without a passing run |
| Last passing run | Timestamp of the most recent clean pass |
| Flakiness score | Pass rate variance — a test that alternates pass/fail is flaky |
Identifying Flaky Tests
A test with a 65% pass rate that is not failing due to UI changes is a flaky test. Flaky tests produce noise: they fail intermittently, require human triage on every failure, and erode confidence in the test suite as a whole.
Autify flags scenarios with high flakiness scores in the health dashboard. Common causes:
- Timing dependencies: A test proceeds before an async operation completes. The fix is adding an explicit wait step or asserting on an intermediate loading state.
- State dependency: A test assumes database state from a previous test run. The fix is ensuring test isolation — each scenario should set up its own preconditions.
- Environment variance: The cloud execution environment has timing variance. Usually addressed by increasing timeout thresholds or adding retry configuration.
Setting Up Health Alerts
Autify supports Slack and email notifications for health degradation:
- Pass rate threshold alert: Notify when a scenario's 7-day pass rate drops below X%
- Failure streak alert: Notify when a scenario fails N consecutive times
- Auto-update volume spike: Notify when auto-updates across a plan exceed a configured threshold (indicating a large UI change that warrants review)
Configure via the workspace notification settings:
{
  "alerts": {
    "pass_rate_threshold": 80,
    "failure_streak_limit": 3,
    "auto_update_spike_threshold": 20,
    "channels": {
      "slack": "#qa-alerts",
      "email": ["qa-lead@example.com"]
    }
  }
}Where AI Maintenance Has Limits
Autify's AI maintenance model is effective for its target use case but has genuine boundaries that matter for production usage.
Visual-Only Changes
If a redesign changes the visual appearance of an element significantly without changing its accessible text or DOM structure, Autify's visual signal may produce a low-confidence match. Example: a button redesigned from a rectangle to a circular icon with no label text. The accessible label should remain the same, but if the developer forgot to update aria-label, the visual and text signals both change, and the AI may fail to match.
Structural Redesigns
When a section of the UI is fully restructured — not just moved but replaced with a different component architecture — auto-update cannot bridge the gap. A dropdown replaced by a multi-select modal requires re-recording, not auto-update. Autify will correctly fail these tests and present them for human review.
Assertion Value Changes
Auto-update handles element location. It does not handle assertion values. If your test asserts that a counter reads "5" and the UI is redesigned to show "5 items" instead, auto-update will not rewrite the assertion. The test will fail with an Assertion failed error, and a human must update the expected value.
Confidence Threshold Tuning
The default confidence thresholds work well for most applications. Applications with heavily dynamic class names (CSS-in-JS, Tailwind with PurgeCSS) may need threshold adjustment because class-based signals are nearly meaningless. Autify allows per-step confidence threshold override, but this requires understanding which elements in your application have stable vs. volatile signals.
Best Practices for Maximizing AI Maintenance Effectiveness
Use semantic HTML in your application: Elements with aria-label, role, meaningful placeholder, and inner text give the AI more stable signals to work with. A button with no text and a background image is much harder to fingerprint than a button with visible text and an aria-label.
Add data-testid attributes for critical elements: While Autify does not rely on data-testid, having them provides an additional stable signal. Elements with a data-testid that matches the accessible label give the fingerprint model a high-weight stable signal.
Keep scenarios focused: Short, focused scenarios fail more informatively and are easier for the AI to maintain. A 50-step monolithic checkout scenario is harder to auto-update accurately than five 10-step scenarios covering separate parts of the flow.
Review auto-updates weekly: Even with auto-persist enabled, schedule a weekly review of the auto-update log. Spot-check that persisted updates resolved to the correct elements, especially for critical checkout or authentication flows.
Treat high auto-update frequency as a signal: If a scenario is being auto-updated on every other run, the underlying UI is too volatile for reliable test coverage. Either invest in stabilizing that part of the UI (add stable identifiers) or accept that this scenario needs periodic re-recording.
Summary
Autify's AI maintenance model addresses the root cause of UI test maintenance overhead: tests break because locators are fragile, not because the application broke. The multi-signal fingerprinting approach makes tests resilient to the kinds of changes that happen during normal development — layout shifts, class renames, component library updates.
The system works best as a reduction in maintenance overhead rather than an elimination of it. Engineers still need to review auto-updates, re-record after structural redesigns, and tune flaky tests. But the volume of maintenance work — particularly the time spent re-recording tests after minor UI updates — is significantly lower than with selector-dependent frameworks. For teams where test maintenance is the bottleneck, that reduction is the primary value proposition of the platform.